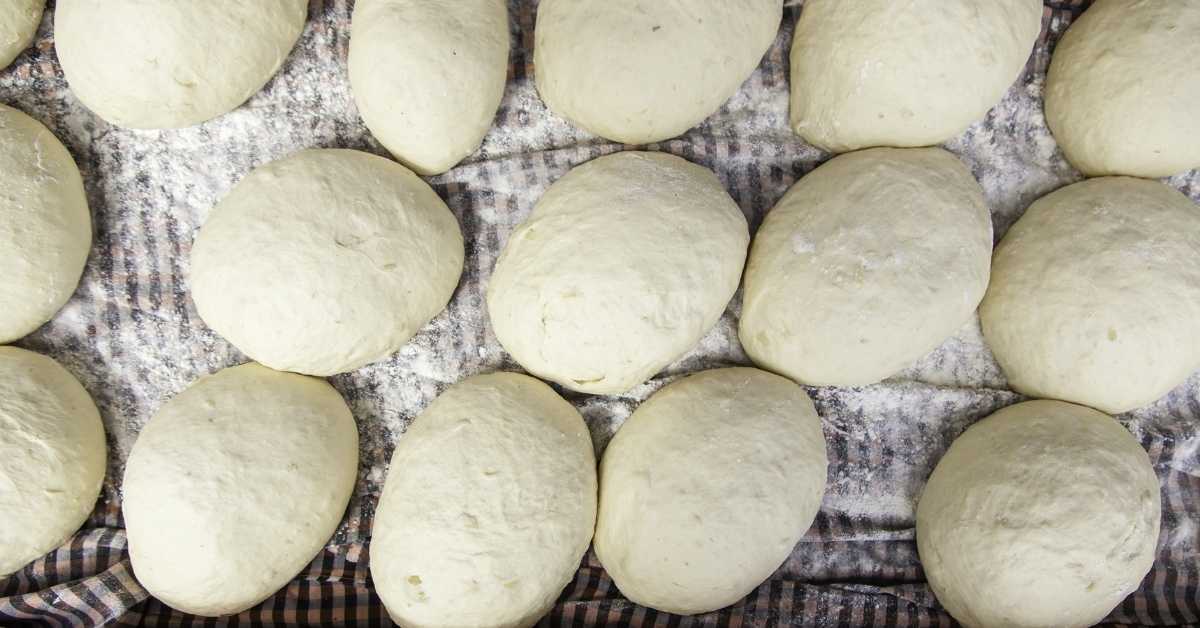
Ever wondered if your metal bowl is up to the task of proofing your beloved sourdough? Well, you’re about to find out! In this article, we’ll delve into the world of sourdough proofing and explore whether a metal bowl can get the job done.
We all know how important it is to feel like you belong in the baking community, and having the right tools is key. So, let’s uncover the truth behind using a metal bowl for proofing and discover the pros and cons.
Don’t worry, we’ll also provide you with some handy tips to ensure successful sourdough proofing in a metal bowl. And if the metal bowl isn’t your cup of tea, we’ll explore alternative options too.
Key Takeaways
- The material of the bowl affects the temperature and fermentation of the dough.
- Metal bowls conduct heat efficiently, resulting in quicker and more consistent rise.
- Metal bowls can cause the dough temperature to rise quickly, accelerating fermentation.
- Metal bowls can retain heat longer, leading to overproofing.
Does the Material of the Bowl Affect Proofing
When proofing sourdough, the material of the bowl does affect the process, as it can impact the temperature and fermentation of the dough. The choice of bowl material can significantly influence the fermentation process and ultimately the quality of your sourdough bread. The reason behind this lies in how different materials conduct and retain heat.
A metal bowl, for instance, conducts heat more efficiently than other materials like glass or ceramic. This means that when you place your sourdough in a metal bowl, it will absorb and distribute heat more rapidly. Consequently, the dough temperature may rise more quickly, accelerating the fermentation process. This can be beneficial if you’re pressed for time and want to speed up proofing. However, it’s crucial to monitor the dough closely, as the faster fermentation can lead to overproofing if left unattended.
On the other hand, a metal bowl can also cause the dough temperature to drop more rapidly. This can be advantageous during hot weather, as the metal bowl can help regulate the temperature and prevent the dough from becoming too warm. However, in colder environments, a metal bowl may not provide enough insulation, making it more challenging to maintain the ideal dough temperature.
Understanding the Role of Fermentation in Sourdough
To understand the role of fermentation in sourdough, it’s essential to grasp the transformative process that occurs when yeast and bacteria interact with the dough. Fermentation is a crucial step in the sourdough baking process, as it not only imparts flavor but also contributes to the texture and rise of the final product.
During the fermentation process, the yeast present in the sourdough starter becomes activated. As the yeast feed on the carbohydrates in the dough, they produce carbon dioxide gas and alcohol. This gas gets trapped in the dough, causing it to rise and create those coveted air pockets in the bread.
Yeast activation is a delicate balance of time, temperature, and the right environment. The sourdough starter provides a rich ecosystem for the yeast and bacteria to thrive and multiply. The wild yeast strains present in the starter are responsible for the unique flavor profile of sourdough bread.
The fermentation process in sourdough can take anywhere from several hours to several days, depending on factors such as the ambient temperature, the hydration level of the dough, and the specific recipe. The longer the fermentation, the more complex the flavors become.
Understanding the role of fermentation in sourdough is key to achieving that perfect loaf. It allows you to harness the power of yeast activation and create bread that isn’t only delicious but also deeply satisfying to make.
Pros and Cons of Using a Metal Bowl for Proofing
Using a metal bowl for proofing your sourdough has both advantages and disadvantages.
One advantage of using a metal bowl is that it conducts heat more efficiently than other materials, such as glass or ceramic. This means that the dough will rise more quickly and evenly, resulting in a more consistent final product.
Additionally, metal bowls are generally more durable and less likely to break than other types of bowls, making them a long-lasting and practical choice for proofing your sourdough.
However, there are also disadvantages to using a metal bowl for proofing.
One major disadvantage is that metal bowls can sometimes react with the acidic nature of the sourdough, causing off-flavors and discoloration in the final bread. This is particularly true if the bowl is made of reactive metals such as aluminum or copper.
Another drawback is that metal bowls can retain heat for longer periods of time, which can lead to overproofing if not monitored closely. Overproofed dough can result in a dense and gummy texture, rather than the light and airy crumb that’s desired in sourdough bread.
Tips for Successful Sourdough Proofing in a Metal Bowl
For best results when proofing your sourdough in a metal bowl, ensure that it’s thoroughly cleaned and dried before adding your dough. Cleaning the metal bowl is crucial to remove any residual oils or contaminants that may affect the fermentation process. Use a mild detergent and warm water to wash the bowl, making sure to scrub it thoroughly. Rinse the bowl well to remove any soap residue and then dry it completely before using it for proofing your sourdough.
When using a metal bowl for sourdough proofing, it’s important to consider the temperature of the dough. Metal conducts heat more efficiently than other materials, so it can cause the dough to rise faster. To control the proofing process, you may need to reduce the proofing time or adjust the temperature of the surrounding environment.
Another tip for successful sourdough proofing in a metal bowl is to cover the bowl with a clean, damp cloth or plastic wrap. This helps to create a humid environment that prevents the dough from drying out during the proofing process. Additionally, you can place the metal bowl in a slightly warmer spot in your kitchen to encourage fermentation.
Remember to monitor the dough closely during the proofing process, as the faster fermentation in a metal bowl may require shorter proofing times. Keep an eye on the dough’s volume and look for signs of fermentation, such as air bubbles and a light, airy texture.
Alternative Options for Proofing Sourdough
If you prefer not to use a metal bowl for proofing your sourdough, there are alternative options available. Proofing baskets, also known as bannetons, are a popular choice among sourdough enthusiasts. These baskets are made from natural materials such as cane or rattan, allowing the dough to breathe and develop a beautiful crust. The shape of the basket also helps the dough maintain its shape during proofing, resulting in a higher rise and better oven spring.
Another option is to use glass containers for proofing your sourdough. Glass containers provide a clear view of the dough, allowing you to monitor its rise and development. They’re also non-reactive, which means they won’t interfere with the fermentation process or affect the taste of your bread. Glass containers with a tight-fitting lid can create a mini-oven environment, trapping heat and moisture and promoting a more even rise.
When using proofing baskets or glass containers, it’s important to lightly dust them with flour or line them with a cloth to prevent the dough from sticking. Additionally, make sure to give the dough enough space to rise without touching the sides of the container.
Experimenting with different proofing methods can be a fun and rewarding experience. Whether you choose to use proofing baskets or glass containers, these alternatives offer a unique way to enhance your sourdough baking journey.
Frequently Asked Questions
What Is the Ideal Temperature for Proofing Sourdough in a Metal Bowl?
The ideal temperature for proofing sourdough in a metal bowl is around 75-80°F. This temperature range allows the yeast to ferment properly and develop the desired flavor and texture. The proofing time may vary, but generally takes 4-6 hours.
Can I Use a Plastic Bowl Instead of a Metal Bowl for Proofing Sourdough?
Yes, you can use a plastic bowl for sourdough proofing. However, using a metal bowl has benefits such as retaining heat and providing a stable environment for fermentation, resulting in better rise and texture.
How Long Should I Let My Sourdough Dough Proof in a Metal Bowl?
To determine the ideal proofing time for your sourdough dough in a metal bowl, consider best practices. The duration may vary depending on factors like ambient temperature and desired level of fermentation.
Can I Use a Glass Bowl for Proofing Sourdough Instead of a Metal Bowl?
Yes, you can use a glass bowl for proofing sourdough instead of a metal bowl. However, using a metal bowl has benefits such as retaining heat better and promoting a more even rise.
What Are Some Common Mistakes to Avoid When Proofing Sourdough in a Metal Bowl?
When proofing sourdough in a metal bowl, it’s important to avoid common mistakes like using a bowl that is too small or placing it in a cold environment. Maintain an ideal temperature of around 75-85°F for optimal proofing.
Conclusion
In conclusion, while metal bowls can be used for proofing sourdough, there are some pros and cons to consider.
The material of the bowl can affect the proofing process, as metal conducts heat differently than other materials. It’s important to monitor the temperature and fermentation of the dough to ensure optimal results.
Additionally, alternative options such as glass or ceramic bowls may provide more consistent proofing conditions.
Experimentation and careful observation are key to successful sourdough proofing in a metal bowl.