
Have you ever wondered how soon after feeding your sourdough starter you can actually use it? Well, guess what? You’re in luck! This guide will provide you with all the information you need to know about the timing of using your sourdough starter.
Patience is key when it comes to sourdough baking, as the fermentation process takes time. By understanding the different factors that affect the readiness of your starter, you’ll be able to determine the perfect moment to use it.
So, let’s dive in and explore the fascinating world of sourdough fermentation together. Get ready to become a master baker and create delicious sourdough treats that will make you feel like part of a warm and welcoming community.
Key Takeaways
- The fermentation process in sourdough baking takes time, and waiting is essential for making sourdough bread.
- Factors such as temperature, hydration level, and amount of starter can affect the fermentation times of the sourdough starter.
- Monitoring the starter’s activity through the presence of bubbles and measuring acidity helps track its progress.
- The readiness of the starter can be determined by factors such as appearance, aroma, float test, feeding schedule, and consistent doubling in size after feeding.
The Importance of Patience
You need to wait patiently after feeding your sourdough starter before using it. This is because the process of fermentation, which transforms the dough into a delicious loaf, requires time. Waiting is an essential part of the art of making sourdough bread.
The benefits of slow fermentation can’t be overstated. When you give your sourdough starter enough time to ferment, it allows the natural yeasts and bacteria in the starter to break down complex carbohydrates and proteins in the dough. This process not only enhances the flavor of the bread but also improves its texture and digestibility.
During the waiting period, the wild yeasts in the starter consume the sugars in the dough and produce carbon dioxide. This gas gets trapped in the dough, creating air pockets that result in a light and airy crumb. Additionally, the longer fermentation time allows the gluten in the dough to develop fully, giving the bread a chewy and stretchy texture.
Understanding Fermentation Times
To fully comprehend the fermentation times of your sourdough starter, it’s important to understand the factors that influence the process.
The time it takes for your sourdough starter to ferment and be ready for use can vary based on a few key elements.
One factor that can accelerate fermentation is temperature. Warmer temperatures speed up the activity of the yeast and bacteria, while cooler temperatures slow it down. So, if you want to expedite the fermentation process, you can keep your starter in a warmer environment.
Another factor to consider is the ratio of flour to water in your starter. A higher hydration level, meaning a higher water content, can lead to a faster fermentation.
Troubleshooting slow fermentation can involve adjusting these factors. If your starter is taking longer than expected to ferment, you can try increasing the temperature or adjusting the hydration level. Additionally, using a smaller amount of starter during feedings can also help speed up the fermentation process.
Monitoring Starter Activity
One important aspect to consider when monitoring the activity of your sourdough starter is the appearance of bubbles. Bubbles indicate that fermentation is taking place, and the starter is becoming active. As the yeast and bacteria in the starter consume the carbohydrates and produce carbon dioxide gas, the bubbles become visible. The presence of bubbles is a good sign that your starter is healthy and progressing well.
In addition to observing the bubbles, measuring the acidity of your starter can also provide valuable information about its activity. The acidity of a sourdough starter is a result of the lactic acid produced by the bacteria during fermentation. By using a pH meter or pH test strips, you can monitor the acidity levels and track the progress of your starter. Ideally, a mature sourdough starter should have a pH level between 4 and 5.
If you notice that your starter isn’t showing any signs of activity or the bubbles are minimal, it may indicate a problem. Troubleshooting your starter involves evaluating factors such as temperature, feeding schedule, and the quality of ingredients used. Adjusting these factors can help stimulate the activity of your starter and ensure its optimal performance.
Factors Affecting Starter Readiness
To gauge the readiness of your sourdough starter after feeding, it’s crucial to take into account various factors that can impact its development. These factors include the temperature of your surroundings, the type and quality of flour used, and the feeding frequency. Each of these factors can affect the fermentation times of your starter, leading to variations in its readiness for use in your sourdough recipes.
Temperature plays a significant role in the development of your sourdough starter. Warmer temperatures can accelerate fermentation, while cooler temperatures can slow it down. If you keep your starter in a warm environment, such as on top of your fridge or near a heat source, it may be ready for use sooner than if it’s kept in a cooler room.
The type and quality of flour used can also impact the fermentation times of your starter. Different flours contain varying amounts of natural yeast and bacteria, which can affect the rate at which fermentation occurs. Additionally, using flours that are high in protein, such as bread flour, can lead to faster fermentation compared to using flours with lower protein content.
Feeding frequency is another factor that can influence starter readiness. Regular feedings help to maintain the health of your starter and promote the growth of beneficial microorganisms. Feeding your starter more frequently, such as twice a day, can result in a faster fermentation process and a shorter wait time before it’s ready to be used.
Considering these factors will allow you to better understand the fermentation times of your sourdough starter and determine when it’s at its peak readiness for baking. By taking these factors into account, you can ensure that your starter is well-developed and ready to create delicious, tangy sourdough bread.
Determining Starter Maturity
After considering the factors that affect starter readiness, you can now determine the maturity of your sourdough starter. Measuring the maturity of your starter is crucial in evaluating its readiness for use in baking. There are several indicators that can help you determine the maturity of your sourdough starter.
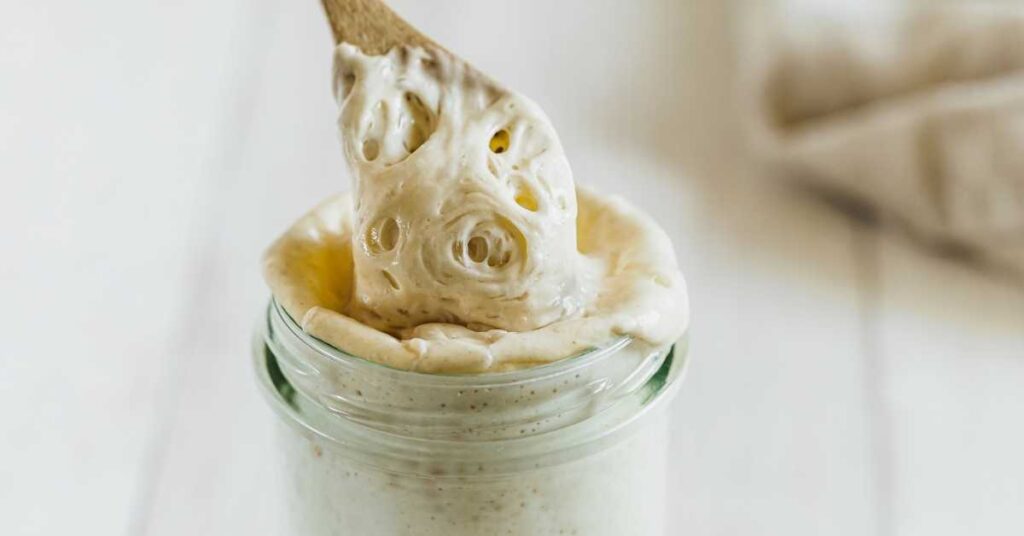
One way to measure the maturity of your starter is by observing its appearance. A mature starter will have a bubbly and frothy texture, indicating that the yeast has been actively fermenting the mixture. Additionally, the aroma of a mature starter will be pleasantly sour and slightly tangy.
Another method to evaluate the readiness of your starter is by performing the float test. To do this, take a small spoonful of the starter and drop it into a glass of water. If the spoonful of starter floats, it’s a sign that the starter is mature and ready to be used. However, if the spoonful sinks, it indicates that the starter needs more time to develop.
Lastly, you can also gauge the maturity of your starter by its feeding schedule. A mature starter will require regular feedings, typically once or twice a day, to maintain its activity and strength. If your starter consistently doubles in size within a few hours of feeding, it’s a good indication that it’s mature and ready for use.
Testing Starter Readiness
To determine if your sourdough starter is ready for use, try performing the float test. This is one of the most reliable testing methods and can give you a clear indication of the starter’s readiness.
To perform the float test, simply take a small spoonful of your starter and drop it into a glass of water. If the starter floats on the surface, it’s a good sign that it’s active and ready to be used. However, if it sinks to the bottom or remains suspended in the middle, your starter may need more time to develop.
If your starter fails the float test, there are a few troubleshooting issues that could be causing the problem. Firstly, check the temperature of your environment. Sourdough starter thrives in a warm environment, so if it’s too cold, it may not be as active.
Secondly, evaluate the feeding schedule of your starter. If you have been feeding it too infrequently or with insufficient quantities, it may not have had enough time to become fully active.
Lastly, consider the hydration level of your starter. If it’s too dry or too wet, it may affect its ability to rise and float.
Adjusting Feeding Schedule for Desired Results
To achieve the desired results with your sourdough starter, you can adjust the feeding schedule. By optimizing fermentation and troubleshooting starter issues, you can ensure a consistent and healthy sourdough starter that’s ready to use when you need it.
Firstly, let’s talk about optimizing fermentation. If you want a more sour flavor in your bread, you can extend the fermentation time by adjusting the feeding schedule. This can be done by reducing the feeding frequency or increasing the amount of starter used in each feeding. By allowing the starter to ferment for a longer period, you give it more time to develop those tangy flavors.
On the other hand, if you prefer a milder flavor or a quicker rise, you can adjust the feeding schedule to promote a faster fermentation. Increasing the feeding frequency or using a larger proportion of fresh flour and water can help speed up the fermentation process.
Secondly, troubleshooting starter issues can also be done by adjusting the feeding schedule. If your starter isn’t rising well or has a weak and sluggish activity, you can try feeding it more frequently to provide it with more food and encourage growth. Additionally, increasing the temperature during fermentation can also help to boost activity.
Tips for Successful Sourdough Baking
To ensure successful sourdough baking, start by using the proper measurements of flour and water in your recipe. Accurate measurements are crucial for maintaining the right balance of ingredients and achieving optimal results.
In addition to precise measurements, there are other tips you can follow to enhance your sourdough baking experience.
First, let’s address sourdough troubleshooting. If you encounter problems with your sourdough bread, such as a lack of rise or a dense texture, there are a few things you can try. One common issue isn’t allowing the dough to ferment for a sufficient amount of time. Make sure you give your dough enough time to develop the desired flavors and rise properly. Additionally, adjusting the hydration level of your dough can also make a difference. Experiment with different hydration percentages to find the one that works best for you.
Another aspect to consider is sourdough flavor variations. The flavor of sourdough can be influenced by various factors, including the type of flour used, the feeding schedule of your starter, and the temperature at which it ferments. For example, using whole wheat flour can impart a nuttier and earthier flavor to your bread, while a longer fermentation period can result in a more pronounced tanginess.
By paying attention to these sourdough troubleshooting tips and exploring different flavor variations, you can elevate your sourdough baking skills and create delicious bread that satisfies your taste buds.
Happy baking!
Frequently Asked Questions
Can I Use My Sourdough Starter Immediately After Feeding It?
You can use your sourdough starter immediately after feeding it. The frequency of feeding depends on your desired sourness level. Keep in mind that regular feeding helps maintain a healthy and active starter.
How Often Should I Feed My Sourdough Starter?
You can use your sourdough starter as soon as it has doubled in size after feeding. This usually takes about 4-6 hours. Remember to discard and feed regularly to keep it healthy and active.
What Is the Ideal Temperature for Sourdough Starter Fermentation?
The ideal temperature for sourdough starter fermentation is around 75-85°F. It’s important to follow best feeding practices, allowing the starter to fully ferment and develop flavor. After feeding, wait until it has doubled in size before using it.
Can I Speed up the Fermentation Process by Using Warmer Water When Feeding My Starter?
You can speed up fermentation by using warmer water when feeding your sourdough starter. The higher temperature creates an optimal environment for yeast activity, resulting in a faster fermentation process.
Is It Necessary to Discard a Portion of My Sourdough Starter Before Each Feeding?
You can discard a portion of your sourdough starter before each feeding to ensure proper sourdough maintenance. This helps maintain the balance of yeast and bacteria, promoting a healthy fermentation process.
Conclusion
In conclusion, the timing of using your sourdough starter after feeding depends on various factors such as temperature, hydration level, and activity level.
It’s important to be patient and observe the fermentation process to determine the readiness of your starter.
Testing the starter’s maturity and adjusting the feeding schedule accordingly can help achieve desired results in sourdough baking.
By understanding the factors affecting starter readiness, you can ensure successful and delicious sourdough bread.